AIP Bread Machine Loaf (Doubled Recipe)
This post may contain affiliate links. As an Amazon Associate, we earn from qualifying purchases at no extra cost to you. This helps support the site.
Ingredients
- 1 1/2 cups cassava flour (AIP-compliant flour substitute)
- 1 cup tigernut flour (AIP-compliant flour substitute)
- 2 cups tapioca flour (also called tapioca starch or manioc starch)
- 4 tbsp coconut flour (AIP-compliant flour substitute)
- 6 tbsp arrowroot powder (thickening agent)
- 2 tsp sea salt
- 2 packets instant yeast (4 1/2 teaspoons)
- 2 tsp baking soda (aluminum-free)
- 2 tbsp apple cider vinegar (raw, unfiltered with mother)
- 6 tbsp extra virgin olive oil (cold-pressed)
- 2 tsp blackstrap molasses (unsulphured)
- 2 tbsp maple syrup (100% pure)
- 1/2 tsp thyme (dried (optional))
- 1/4 tsp cinnamon (optional)
- 2 2/3 cups water (warm (105-110°F))
Always verify ingredients meet your specific dietary needs and check for allergens.
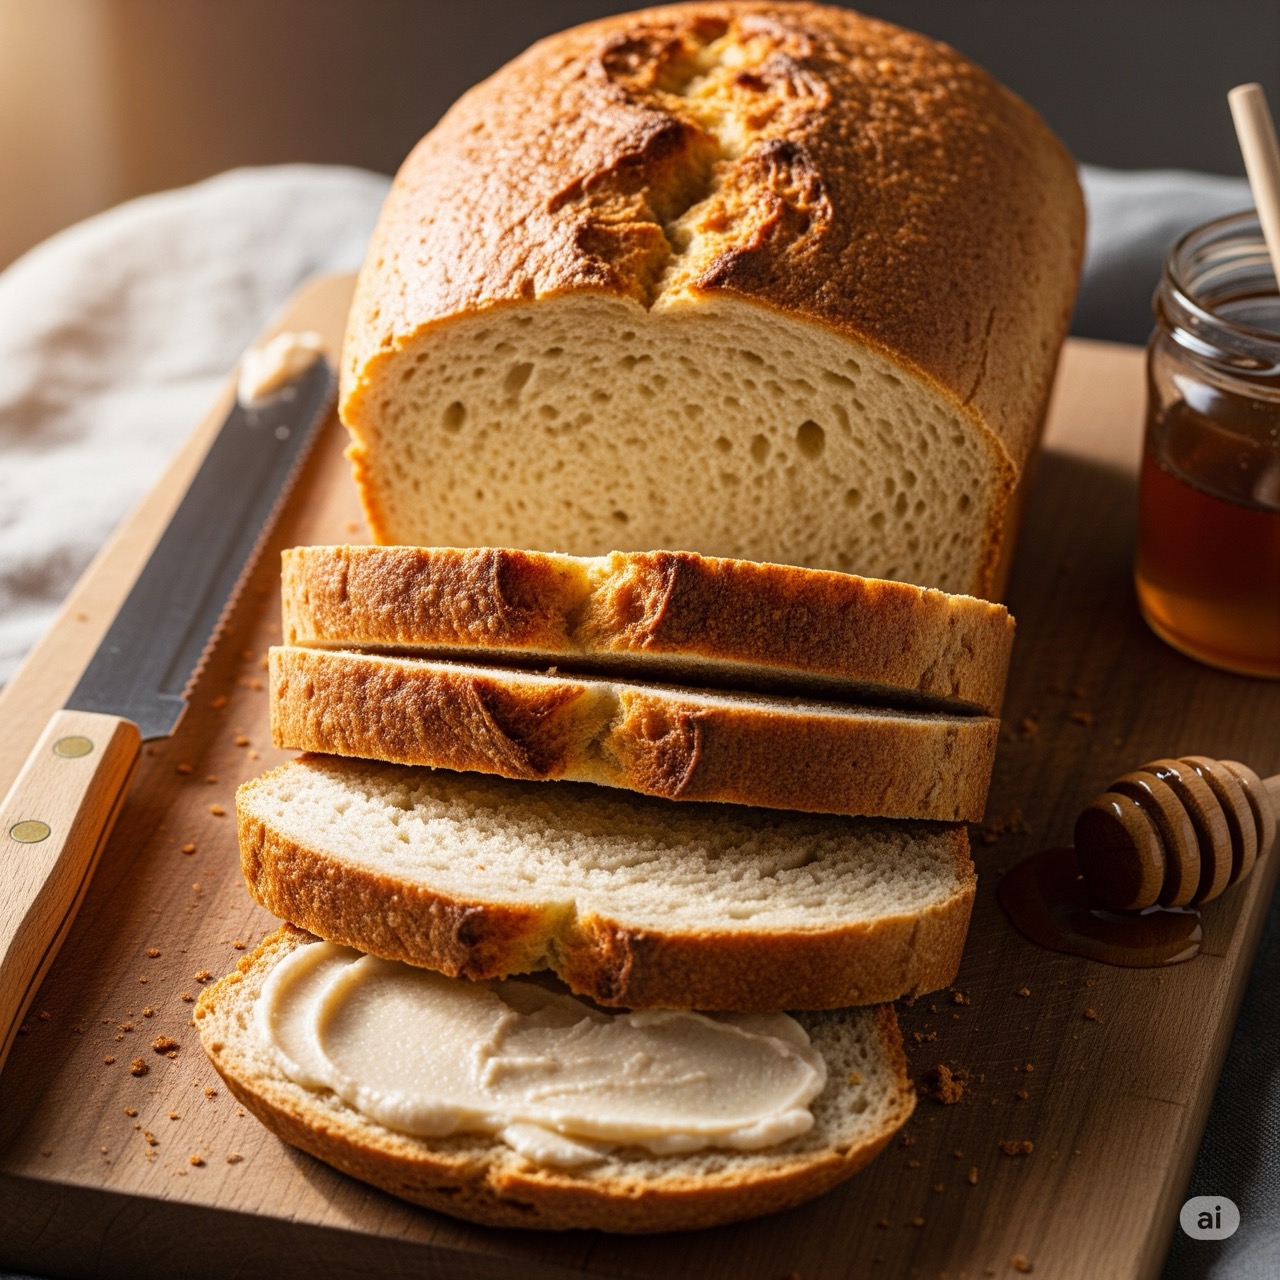
This doubled recipe creates a larger, well-risen loaf perfect for sandwiches and toast. Using the normal cycle instead of quick baking allows for better fermentation and rise.
Instructions
-
Check water temperature: Ensure water is 105-110°F (40-43°C) for optimal yeast activation.
- Order of ingredients for normal cycle:
- Add wet ingredients first: warm water, apple cider vinegar, olive oil, blackstrap molasses, and maple syrup
- Mix dry ingredients separately in a bowl: cassava flour, tigernut flour, tapioca starch, coconut flour, arrowroot powder, salt, baking soda, thyme, and cinnamon
- Add dry mixture on top of wet ingredients
- Create a shallow well in the center of dry ingredients for the yeast, keeping it away from salt and vinegar
-
Select normal cycle on your bread machine (not quick cycle) for better rise and texture.
-
Monitor consistency: During the first 5-10 minutes of mixing, check that dough resembles thick cake batter. Add water or cassava flour as needed.
- Watch the rise: The normal cycle’s longer fermentation time will create more gas bubbles and better rise. If your machine has a window, monitor the first rise.
Tips for Success
- Normal vs Quick Cycle: The normal cycle provides:
- Longer rise time for better yeast fermentation
- Multiple kneading phases to develop starch network
- Gradual temperature progression for proper structure setting
- Customization: If your machine allows:
- Minimize or disable the “punch down” phase
- This helps maintain the rise in gluten-free breads
- Expected Results: With doubled recipe and normal cycle:
- Significantly larger loaf
- Better rise and texture
- More complex, bread-like flavors from extended fermentation
Storage
- Cool completely before slicing
- Store in airtight container for up to 3 days
- Freezes well for up to 1 month